ChronoX v.2.1.1 User Manual - updated March 17, 2024
Table of Contents
Installation and settings
How to Install
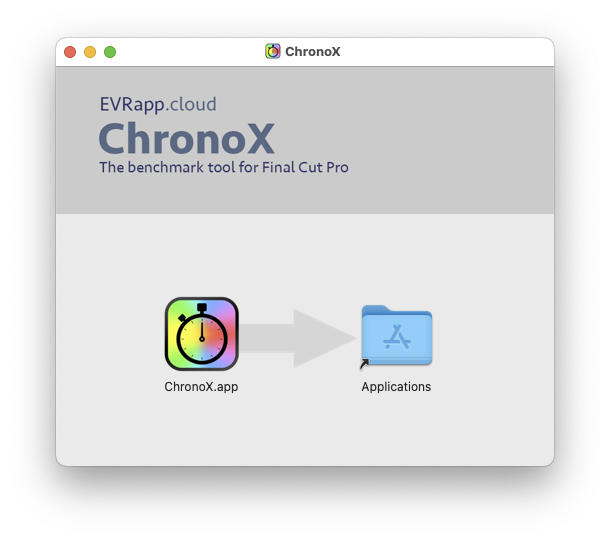
Open the DMG package and drag and drop ChronoX.app to the Applications folder.
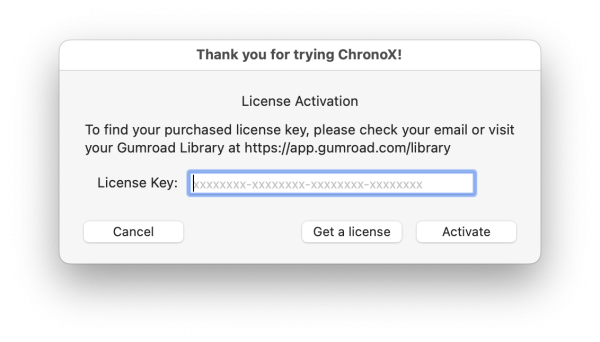
 On the first run a pop up window will show up asking for a license code to activate.
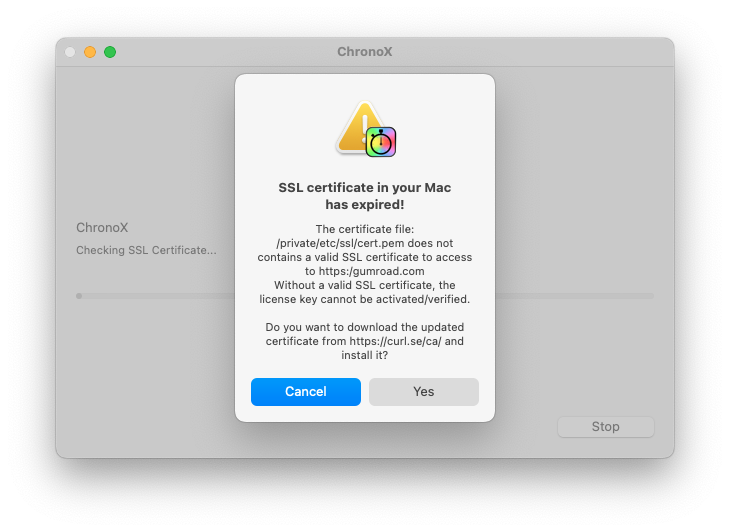
In case the SSL certificate to access the Gumroad server has expired on the host computer it is possible to automatically install the certificate from the repository https://curl.se/docs/caextract.html
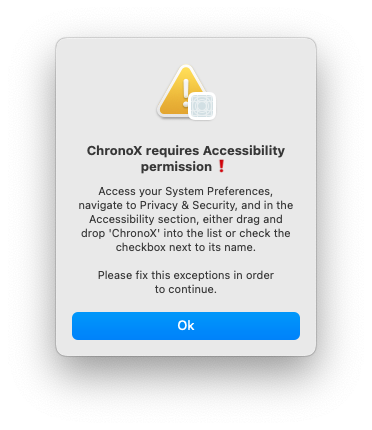
On first launch, you need to grant accessibility permission to the application to perform actions on Final Cut Pro.
Make sure the ChronoX checkbox is checked.
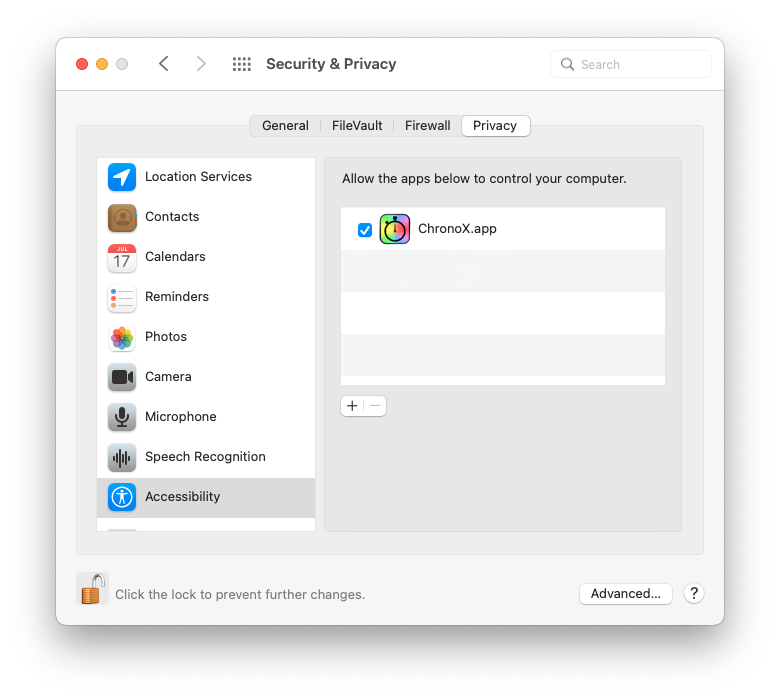
Important note: when updating to a new version of ChronoX, Accessibility permission has to be setup again by removing the existing ChronoX from the list and adding again.
Final Cut Pro Settings
Before using ChronoX, ensure the following settings are configured in Final Cut Pro:
- Default Destination Setup:
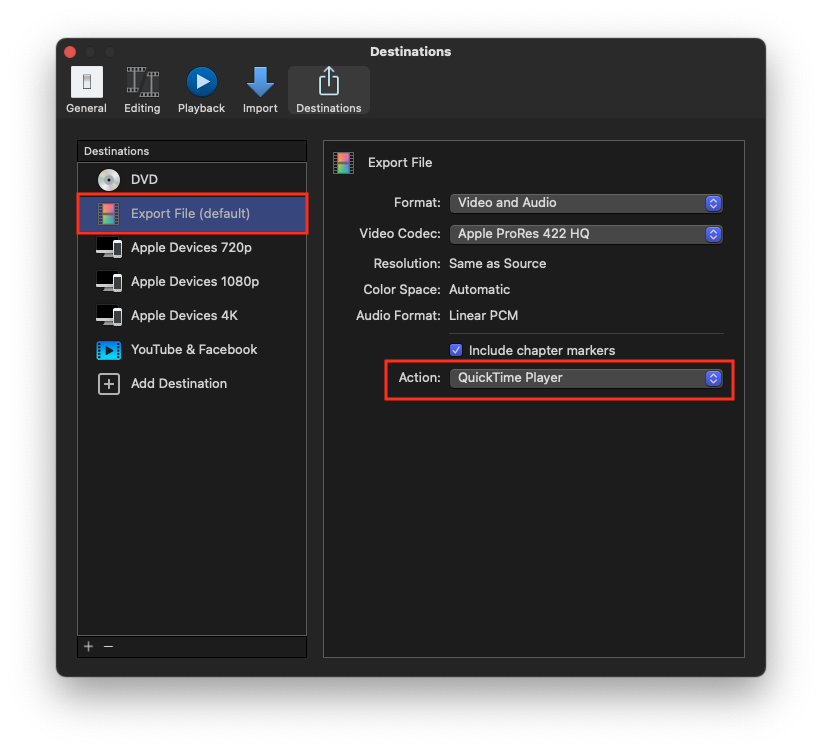
Check if "Export File" or "Apple Devices" is set as the default destination. Navigate to Final Cut Pro > Preferences > Destinations to verify this configuration. - Action: Open With.. Configuration:
In the settings for "Export File" or "Apple Devices," ensure that the "Action: Open With.." option is set to QuickTime Player.app or your preferred application. - Additional Settings:
Other settings in the same panel, such as Format, Video codec, Resolution can be adjusted according to your preferences.
ChronoX supports all export formats supported by Final Cut Pro that can be associated, in the Destinations preferences, with the action to open with an application after export.
These settings serve as prerequisites for ChronoX to function properly. If the "Action: Open With.." setting is not configured, ChronoX will be unable to complete its tasks, requiring manual intervention by clicking the "Cancel" button. Since ChronoX cannot verify these FCP configuration settings, it's essential to double-check and ensure they are correctly configured.
Prerequisites:
- Destination selected is set as the default destination.
- Action: Open With.. option configured.
Shared directory
When ChronoX initiates the export process in Final Cut Pro, it utilizes the last shared directory used.
After a fresh Final Cut Pro installation or when trashing the preferences (open Final Cut Pro.app with CMD+OPTION) it's required to setup the share location. Therefore, if you need to change the drive or directory for exporting files, you must set it up by following these steps: navigate to File > Share > Export File, click Next, select a folder, and then click Cancel. This action sets the desired export location without proceeding with the export process.
Preferences
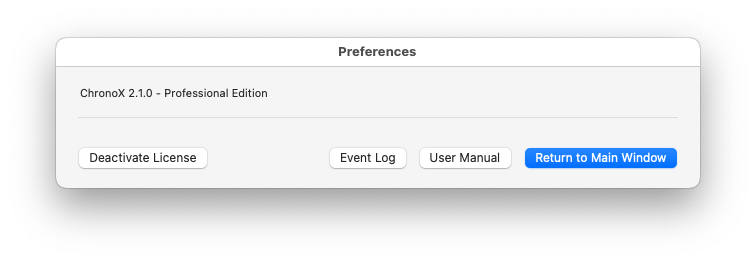
In the preferences panel there are three buttons (from left to right): Deactivate Licence, Event Log, User Manual and Return to Main Window.
Event Log (Professional only)
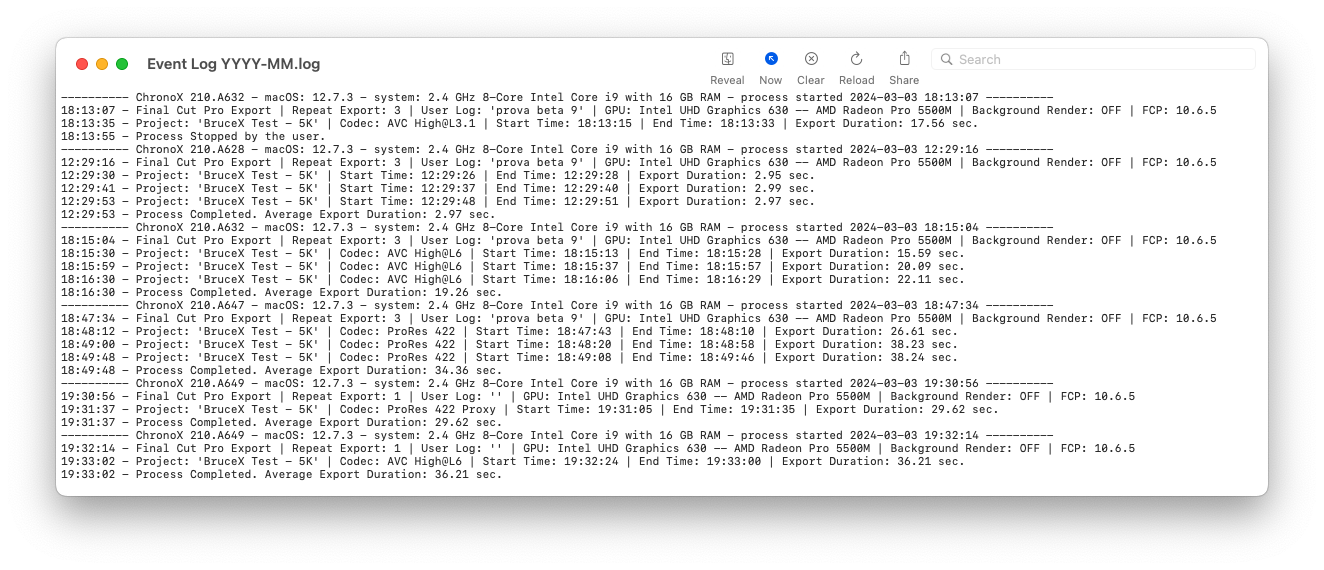
Clicking the "Event Log" button provides access to the application's comprehensive log file. This file captures events from each executed process since the initial run on the host machine. The Event Log is saved monthly with the naming convention "Event Log YYYY-MM.log".
User Manual
In order to ensure a smooth user experience, we recognize the significance of comprehensive documentation. To facilitate easy access to information and guidance, we have introduced a User Manual Button in the Preference panel. This convenient addition allows you to explore our detailed User Manual (this) with just a single click.
Deactivating the License
Deactivating a license is an essential step, particularly during an upgrade from a Standard to a Professional license. This process seamlessly reverts ChronoX to its initial state, prompting users to activate a new license upon startup.
To deactivate the license, follow these simple steps:
- Open the Preference panel in the application.
- Locate the "Deactivate License" button.
- Click on the "Deactivate License" button.
- A confirmation message will appear, asking if you want to proceed.
- After confirming your decision, a new message will appear, confirming the successful deactivation of the license.
By deactivating the current license, users ensure smooth transitions between license tiers and compliance with software usage terms.
How to uninstall
Delete (Move to Trash) the /Applications/ChronoX.app
How to use
Standard version
In Final Cut Pro X, open the project to export in the Timeline and then open ChronoX.

The Export Process Checklist serves as a vital tool, guiding users through each step of the export process to streamline workflow. By ensuring that no crucial steps are overlooked, it enhances efficiency and reduces errors. Users can easily track their progress and maintain consistency in export procedures, making it an invaluable resource for users of all experience levels.
After clicking "Start FCP Export" button, ChronoX will run the export automatically so do not touch Mouse and Keyboard until ChronoX will finish.
IMPORTANT: After clicking OK button DO NOT TOUCH MOUSE and KEYBOARD until ChronoX finish to run all the export!
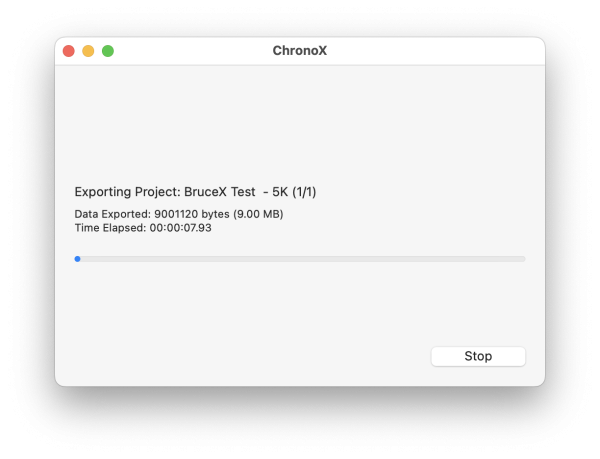
Throughout the export, a progress bar will display pertinent information regarding the ongoing process.
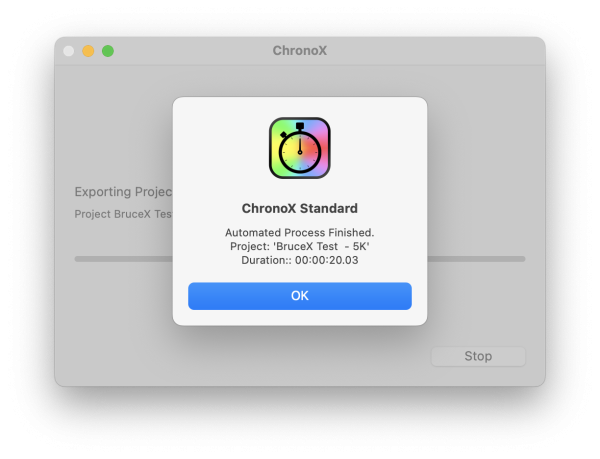
Upon completion of the final export, a pop-up window will appear to notify you that the automated procedure has concluded and giving additional information about the process including the duration (elapsed time of the export).
Professional version
In Final Cut Pro X, open the project to export in the Timeline and then open ChronoX.
The main window includes a Settings section where you can input the Repeat Export (up to 3) and add User Notes.
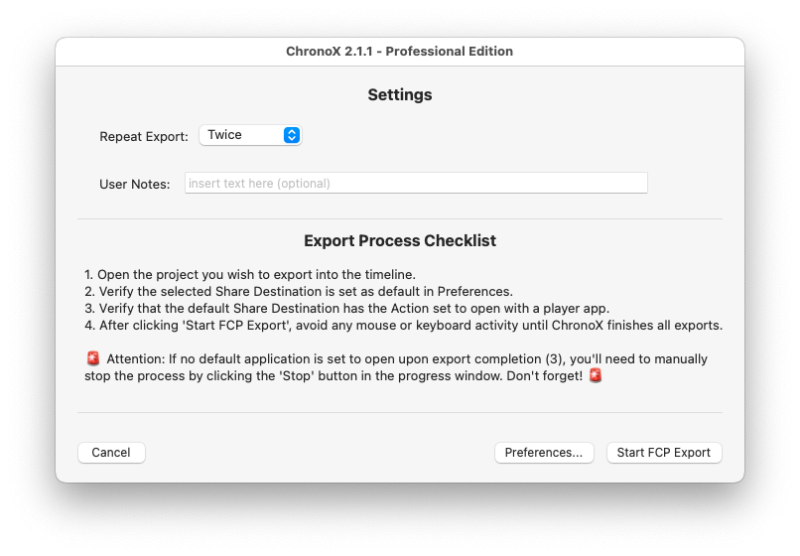
The Export Process Checklist serves as a vital tool, guiding users through each step of the export process to streamline workflow. By ensuring that no crucial steps are overlooked, it enhances efficiency and reduces errors. Users can easily track their progress and maintain consistency in export procedures, making it an invaluable resource for users of all experience levels.
After clicking "Start FCP Export" button, ChronoX will run the export automatically so do not touch Mouse and Keyboard until ChronoX will finish.
IMPORTANT: After clicking OK button DO NOT TOUCH MOUSE and KEYBOARD until ChronoX finish to run all the export!
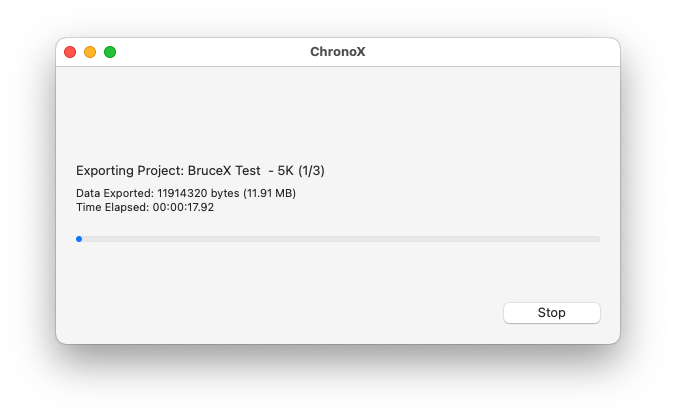
Throughout the export, a progress bar will display pertinent information regarding the ongoing process.
Upon completion of the final export, a pop-up window will appear to notify you that the automated procedure has concluded and giving additional information about the process including the average duration of the repeated export (average elapsed time of the total export).

Then by clicking Open folder button ChronoX will open the folder /Documents/ ChronoX with the log report with the name log_ChronoX_x.x.x_YYYY_MM_DD.csv
A log report file in CSV format is created on daily basis in /Documents/ChronoX with data of each export.
log report naming: log_ChronoX_x.x.x_YYYY_MM_DD.csv (x.x.x = ChronoX version number)
To access and review the log report, we recommend opening the CSV file in the Apple Numbers application. This allows you to easily filter and analyze the data according to your specific needs.

Supported Final Cut Pro Destinations
| Destination Format | Type | File Format |
|---|---|---|
| Mastering | Video and Audio, Video Only | .mov |
| Publishing | Apple Devices, Computer, Web Hosting | .m4v, .mp4, .mov |
| Broadcast | MXF | .mxf |
